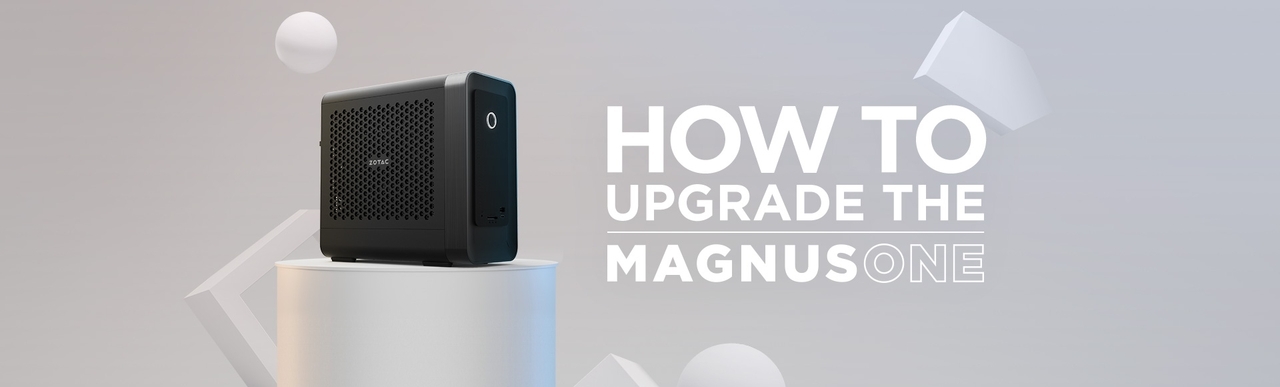
How to Upgrade the MAGNUS ONE
2021.03.10 7:45 PM
With the newly launched MAGNUS ONE, we present our latest addition to the ZBOX Mini-PC family. Packing desktop performance in a compact and modular design with only 8.33 liters of capacity, the MAGNUS ONE is fueled by a dedicated ZOTAC GAMING GeForce RTX 3070 graphics card and a 10th generation Intel Core i7 processor. Or simply put: MAGNUS ONE is one powerful and compact PC.
With the ZOTAC ZBOX Mini PCs, we have always maintained the tradition of making upgrading the Mini PC as easy as possible. We continue this tradition with our latest innovation, the ZOTAC ZBOX MAGNUS ONE.
The MAGNUS ONE is available in Barebones for DIY enthusiasts, and a ready-to-go Windows configuration complete with memory (RAM), storage (HDD, SSD) and a pre-installed Windows 10 Home OS. Barebone version is shipped without memory and storage, allowing you to decide for yourself what capacity of RAM, SSD and/or HDD will suit your needs perfectly.
In this blog, we will show you how to install the components into the system in just a few steps. If you have experience of upgrading a PC, you can find a time-lapse video here:
Note: You will need a small crosshead screwdriver for the M.2 SSD. It's best to have it at hand.
1. Opening the computer
After unpacking the MAGNUS ONE, you have to open the Mini PC to access the hardware.
On the back above the USB and video ports, there are two black screws, the so-called thumbscrews, which you can loosen without tools. Then you push the upper cover backwards and take it off. You will see an arrow with the word "PUSH" on the cover, so you know in which direction the cover has to be moved.
The side panels can now be easily removed upwards and allow you to see the inner workings of the MAGNUS ONE.
2. Insert memory
Above the CPU cooler are the two SODIMM RAM slots, which together support up to 64GB of DDR4 RAM. Insert the RAM sticks in the correct orientation and press lightly until the white clips on both sides snap into place.
3. M.2 SSD / Intel Optane memory
Before we can insert the M.2 SSD or Intel Optane memory, first we need to remove the SATA bracket - the black bracket to the right of the CPU cooler. It is attached with only one screw, which can also be loosened without any tools.
After removing the bracket, we can now see the two NVMe M.2 slots to the right of the RAM. Further down, below a black square, is a silver screw to hold the SSD in the right position later. This screw also must be loosened with the crosshead screwdriver.
After that, the M.2 SSD can be inserted into the NVMe slot at an angle of about 45°. Press the M.2 SSD down and fix it with the silver screw. The same applies to the 2nd M.2 SSD or the Intel Optane memory.
4. SATA SSD / HDD
Basically, you can never have enough storage. Therefore, it is recommended to use a larger and, when compared to the M.2 SSD, cheaper SATA SSD or HDD. The SATA SSD or HDD has to be inserted into the holder, which you have removed before. Make sure that the hard drive's connector is on the opposite side of the screw. Insert the hard drive with the bracket into the slot provided and fix the bracket with the screw.
5. Reassemble the system
Now that all components are installed, the MAGNUS ONE can be reassembled. Re-insert the side part of the housing, put on the top cover, and finish off with the two black screws. In principle, the same as 1st step, only in reverse.
The special thing about the MAGNUS ONE is that the graphics card can theoretically be replaced as well.
The graphics card is located on the other side of the PC, i.e. behind the mainboard. You only have to remove the screw on the back panel, the power cable (2x 8-pin) and the clip on the PCIe slot. The graphics card can then be removed. When upgrading the graphics card, however, the size of the card as well as the power supply must be considered, as it supplies up to 500 watts. This is to ensure that the new graphics card can fit into the MAGNUS ONE and is also supplied with sufficient power. Please always check the specifications of the respective graphics cards.
Finally, install Windows with a USB stick or an external hard drive, and install the necessary programs and games, then you're ready to go.
